
Sheila and I followed our letterpress adventure at KOZO by taking an 8-week screenprinting course at Open Studio.
I’ve been screenprinting for a few years now — even facilitating workshops and live printing in public spaces — but before taking this class, I’ve never had the opportunity to use a “professional” studio. That’s one of the reasons why I was interested in checking out Open Studio — to see what kind of juice they have.
My initial experience was a bit jarring but ultimately it was a great course with a very helpful instructor that expanded my understanding of the medium. I learned a variety of useful techniques and produced some personal and playful new work.
The conflict I had at first was with the dissonance between the way Open Studio bills itself as “Canada’s Leading Fine Art Printmaking Centre”, the substantial fees we were paying, and the limited supplies we had to work with: dull blades, runny leftover inks, one-sheet per class rations of nice paper, a single flat file drawer for the entire class, and queues to wash-out screens. It was a little disheartening.
My first project (printing with paper stencils) was also a bit of a disaster — partly on account of the dull blades and bland inks — but also because I didn’t have enough time to think it through. If I had some advance warning, I could have done some prep work and brought one of my own x-acto blades from home.
That said, after the first class my experience was a lot better. I loved having a block of time each week for just making stuff. I came to appreciate the studio for what it is: a vital artist-run centre that responds to challenges with practical DIY solutions, like any resourceful artist would do.
It also helped that I was able to think about projects in advance and produce work that I was more happy with, while reminding myself that what was most important was exploring new ways of doing things.
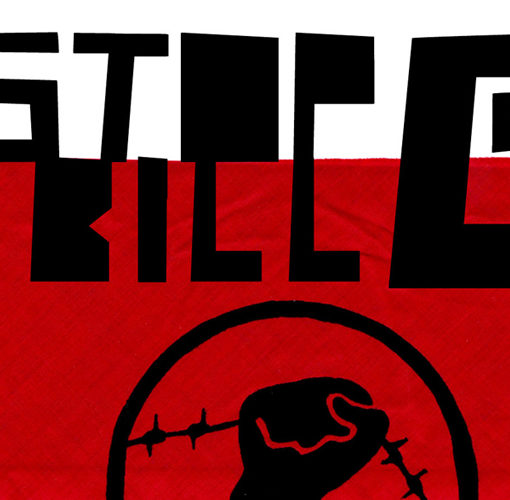
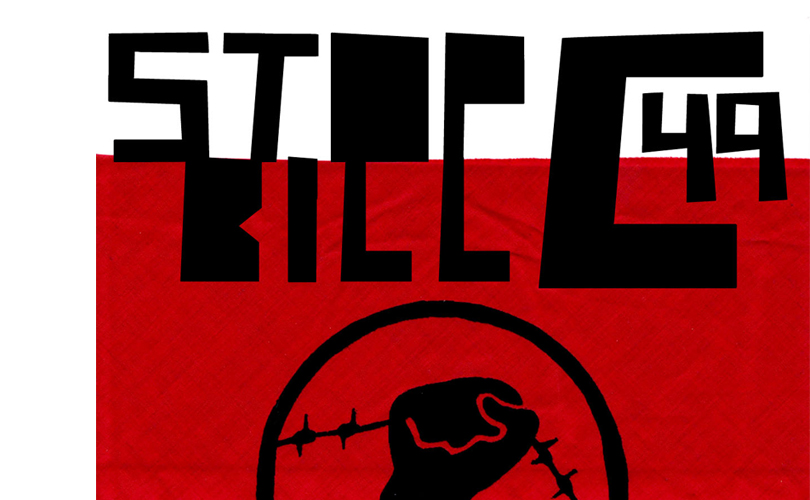
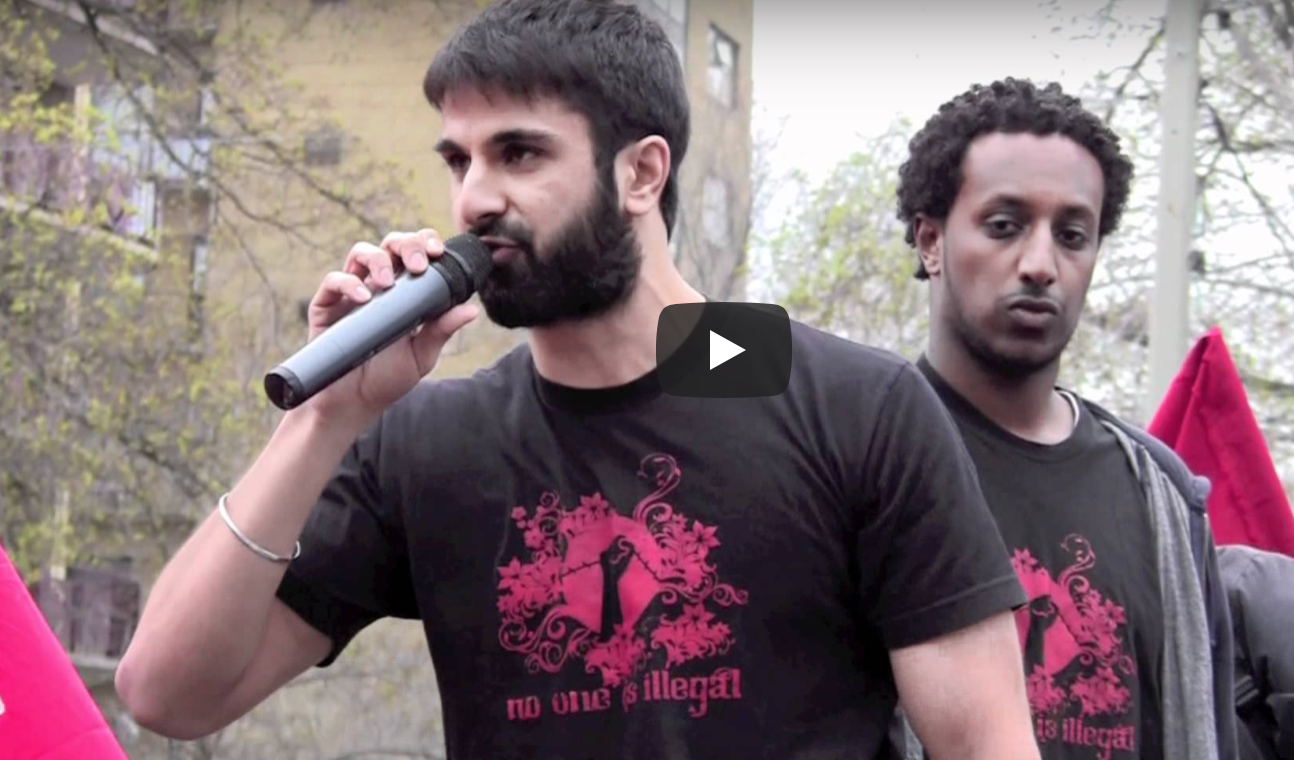
 Two colour print made on one screen (side-by-side) with drawing fluid and screen filler, inspired by a quote from this story
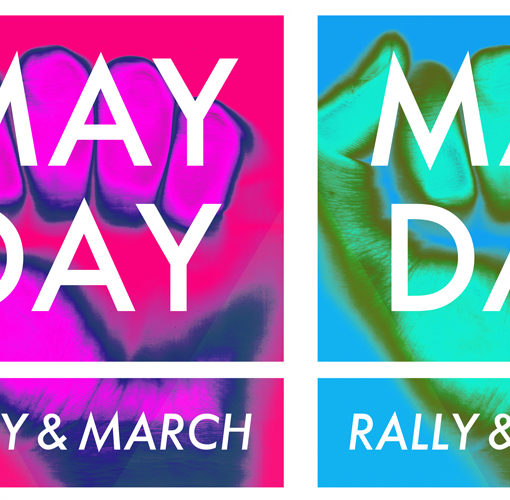
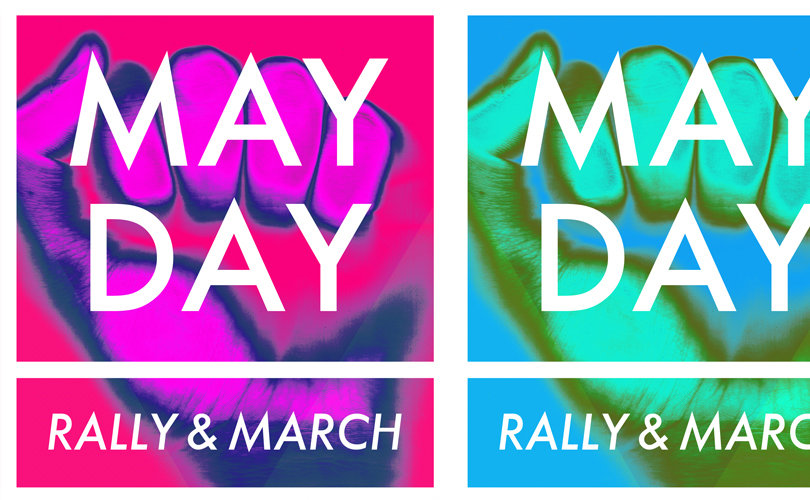
 My first attempt with rubylith backfired when I removed the wrong area by mistake, but I recovered by using packing tape on the screen to create these sharp lines. The original idea was for a grey and pink rectangle to represent “a (divided) life”, but then I started to move the halves around to make new geometric formations.
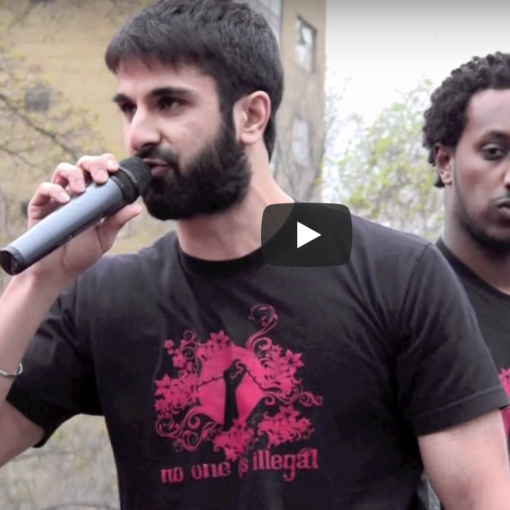
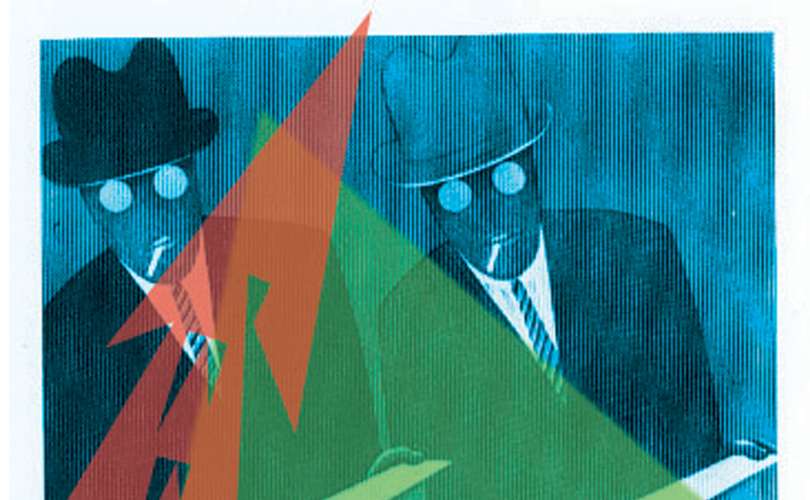
 Two colour print made with oiled photocopies, images are panels from Taiyo Matsumoto’s excellent Tekkonkinkreet (Black & White). I also messed around with the placement of these layers to create different effects.

For my final project I wanted to do something more ambitious that required tighter registration. This is a three layer print from oiled photocopies. I originally had four layers, with a light purple background fill, but I had to let it go because it wasn’t printing properly and I was running out of time. I made the original design in Illustrator, using a photo of a milkcrate for reference.
These hand-outs give a sense of the format of the class:
Course Outline / CMYK Colour Separation Guide
Typically each session began by demo-ing a new printing technique: paper stencils, drawing fluid and screen filler, rubylith, oiled photocopies with emulsion, CMYK separations, tearing paper, registration with acetate, or registration with pins and tabs.
Coming from the kitchen table school of screenprinting, it was nice to have access to counterweights to keep the screen suspended, a printing table with vacuum suction, and a washout booth to power-wash screens.
I think my technique improved — I’m more vigilant now about having enough ink to flood (and afterwards print) with a single pull. I want to get better at registration and to try using pins and tabs on a future project. I’ve noticed that when things start to fall apart, I get stressed out and can allow this to affect how I interact with people (like being short with them), so that’s something I also want to work on.
These classes are not super financially accessible, though they do cost less than a university course/credit, and when you’re not being graded, it’s a really nice environment for experimentation (Favianna has a great piece about this). I know that’s little consolation if you can’t afford either, so hopefully we can share what we glean from institutions in more inclusive venues and continue organizing together!
